Understanding the Fibreglass Pool Relining Process
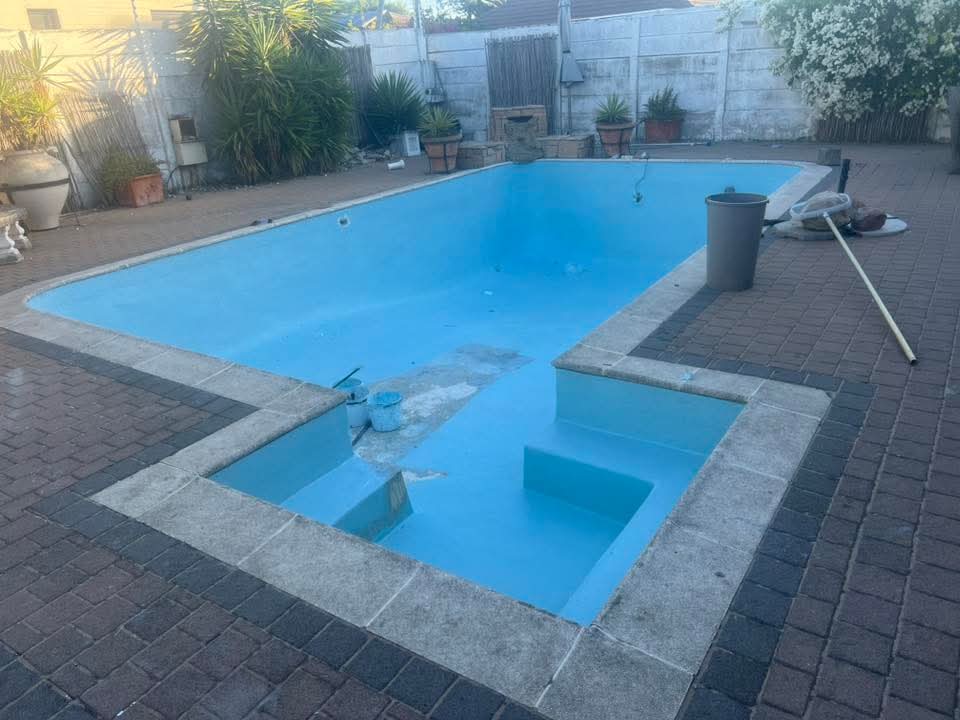
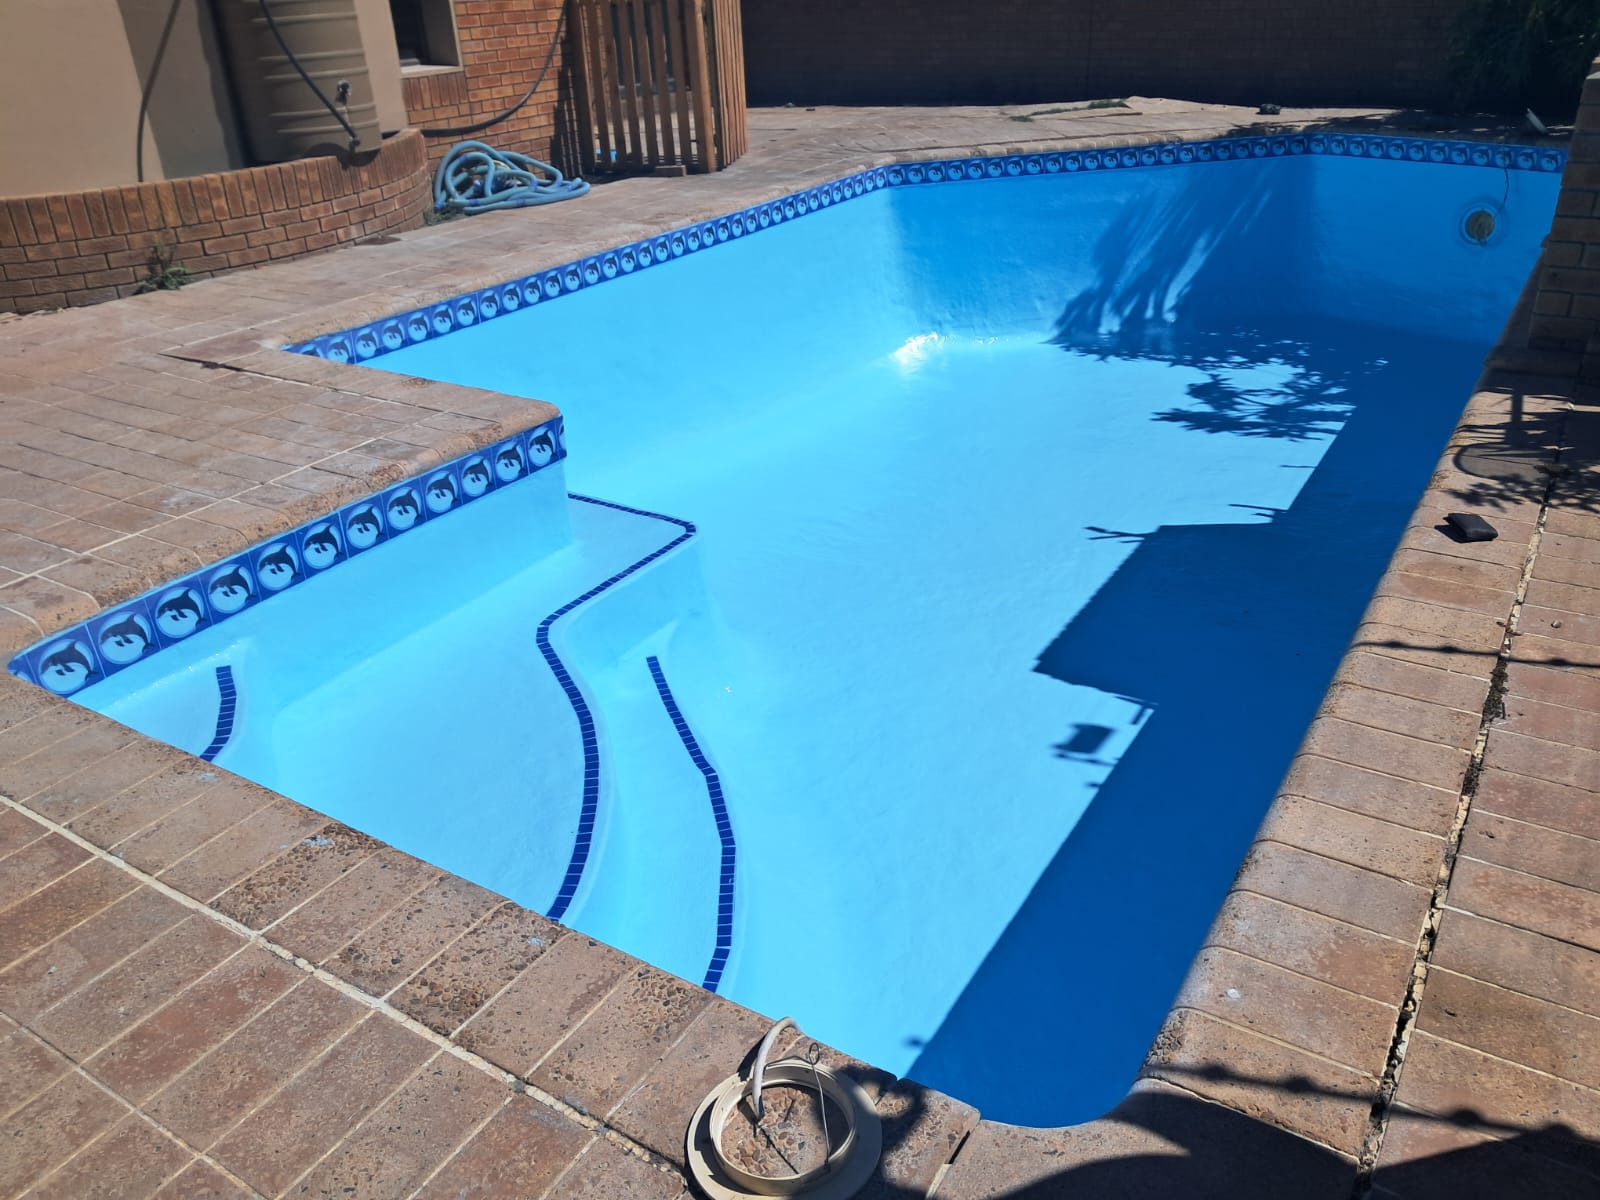
The fibreglass pool relining process is a carefully staged job that turns a worn, leaking, or dated pool into a smooth, watertight, and modern-looking surface. It is not a quick paint job — it is a layered application of resin, matting, and gelcoat that bonds to your existing shell and effectively gives you a brand-new interior. Knowing how each stage works helps you judge whether a contractor is cutting corners or doing the job the way it should be done.
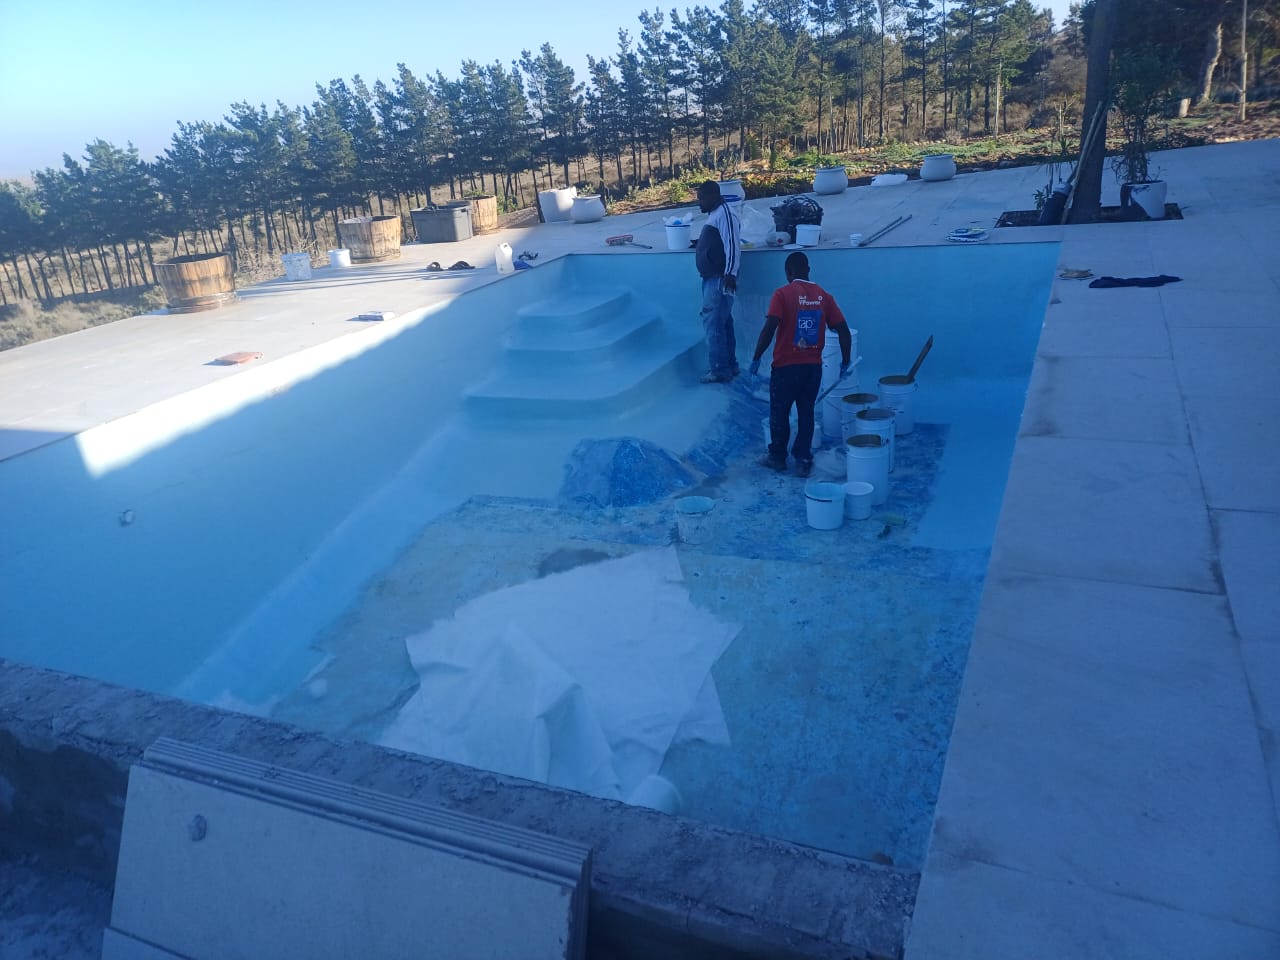
Across Cape Town we see the same pattern again and again: the pools that last longest are the ones where every stage was given proper time, especially preparation and curing. Rushing any single step undermines the ones that follow, so a good crew works methodically from drain to refill. Below we walk through the full sequence so you know exactly what to expect on site.
Key Takeaways
- The fibreglass pool relining process runs through roughly seven distinct stages.
- Preparation and crack repair matter more than the final coat you actually see.
- Most relines take between five and ten working days, weather depending.
- Proper curing before refilling is what locks in a long, trouble-free lifespan.
- Quality shows in the details — clean edges, even colour, and no rushed drying times.
The Step-by-Step Fibreglass Pool Relining Process
Here is the full sequence we follow on a typical reline. Each step builds on the one before it, and a professional crew will not skip ahead until the previous stage is properly complete. This is the backbone of the fibreglass pool relining process and the part most homeowners never get to see explained clearly.
- Drain and inspect — the pool is emptied and the whole shell is assessed for cracks, hollow spots, and areas of failure.
- Grind and prepare — the old surface is ground back to a clean, keyed base so the new layers can bond mechanically.
- Repair cracks and defects — structural cracks are opened, filled, and reinforced so they cannot telegraph through the new finish.
- Apply the bonding coat — a resin bonding layer is rolled on to lock the new fibreglass to the prepared shell.
- Lay the matting and resin — chopped-strand matting is saturated with resin and consolidated to remove air, forming the structural skin.
- Apply the gelcoat or flowcoat — the coloured, waterproof top layer that you see and swim against is applied evenly.
- Cure and refill — the finish is left to cure fully before the pool is cleaned, refilled, and balanced.
Preparation: The Stage That Decides Everything
If you only watch one part of the job closely, make it the preparation. Grinding the old surface and repairing cracks is unglamorous, dusty work, but it is where a durable reline is truly made. A shell that is not keyed properly or that still hides live cracks will let the new layers lift and blister within a few short years, no matter how good the gelcoat looks on the day.
What good preparation looks like
You should see the entire interior ground to a consistent, matte texture with no glossy patches left behind, and every visible crack opened up rather than painted over. Our overview of how to reline a concrete pool with fibreglass goes deeper into why this base work carries the whole job, and it is the same standard we hold on every site.
Layup and Gelcoat: Building the New Surface
Once the base is ready, the structural layers go on. The matting and resin form the strength, and the gelcoat forms the smooth, coloured, waterproof face of the pool. Consolidating the matting to drive out trapped air is critical here — air pockets become blisters later. A well-applied gelcoat cures to an even sheen with no thin spots, giving you the finish that makes fibreglass so popular compared with older options in our marbelite versus fibreglass cost comparison.
How Long Does the Process Take?
Timelines vary with pool size, weather, and the condition of the old shell, but most domestic relines in the Cape run between five and ten working days from drain to refill. The table below gives a realistic picture of how that time is usually spread across the stages so you can plan around the work.
| Stage | What happens | Typical duration |
|---|---|---|
| Drain and prep | Emptying, grinding, keying the surface | 1–2 days |
| Crack repair | Opening and reinforcing defects | 1 day |
| Bond and layup | Bonding coat, matting and resin | 1–2 days |
| Gelcoat | Applying the coloured top layer | 1 day |
| Cure and refill | Full cure, clean, refill, balance | 2–4 days |
Weather is the biggest wildcard, since resin and gelcoat need dry, stable conditions to cure correctly. A good crew will pause rather than push on through rain, because a rushed cure is one of the few mistakes that cannot be undone later. Curing chemistry follows the same curing principles used across composite manufacturing, and respecting it is what protects your investment.
How to Spot Quality Work
Because so much of the fibreglass pool relining process happens before the pretty part, you need a few tells to judge quality. Look for a thoroughly ground base, opened and repaired cracks, even matting with no air blisters, and a gelcoat with consistent colour and sheen from step to shallow end. If a contractor is racing to refill within a day or two of coating, treat that as a red flag. When you are ready to plan your own reline, you can request a relining quote and we will walk you through each stage for your specific pool.
Frequently Asked Questions
Can I stay at home during the relining process?
Yes, in almost all cases you can carry on as normal — the work is confined to the pool and its immediate surrounds. There is noise and dust during the grinding stage, and you will need to keep children and pets away from the empty pool and materials, but the process does not usually disrupt the rest of your home.
Is fibreglass better than a repaint for my pool?
For most Cape Town pools, yes. A reline rebuilds the surface as a bonded, waterproof shell rather than laying colour over a tired base, so it lasts far longer than paint and resists algae and staining much better. It costs more upfront but works out cheaper over its lifespan.
What happens if it rains during the job?
A responsible crew simply pauses at any stage that needs dry conditions, particularly the resin and gelcoat work. Curing correctly is more important than finishing a day sooner, so a short weather delay is normal and is a sign the contractor is protecting the quality of your reline.